
Building Zephyr’s dog house AKA our first YouTube tutorial
- kiddercreekcottage
- Apr 3, 2023
- 2 min read

As you can imagine we end up with lots of construction projects around here. Since we started with bare land, those projects have frequently involved building livestock shelters for our various animals.
We try to have things set up before we bring animals home but sometimes things happen and you need a shelter quickly. Maybe it’s a sick animal that needs to be quarantined, or a temporary breeding pen... Whatever the reason, it’s good to have a plan in place when these things come up.
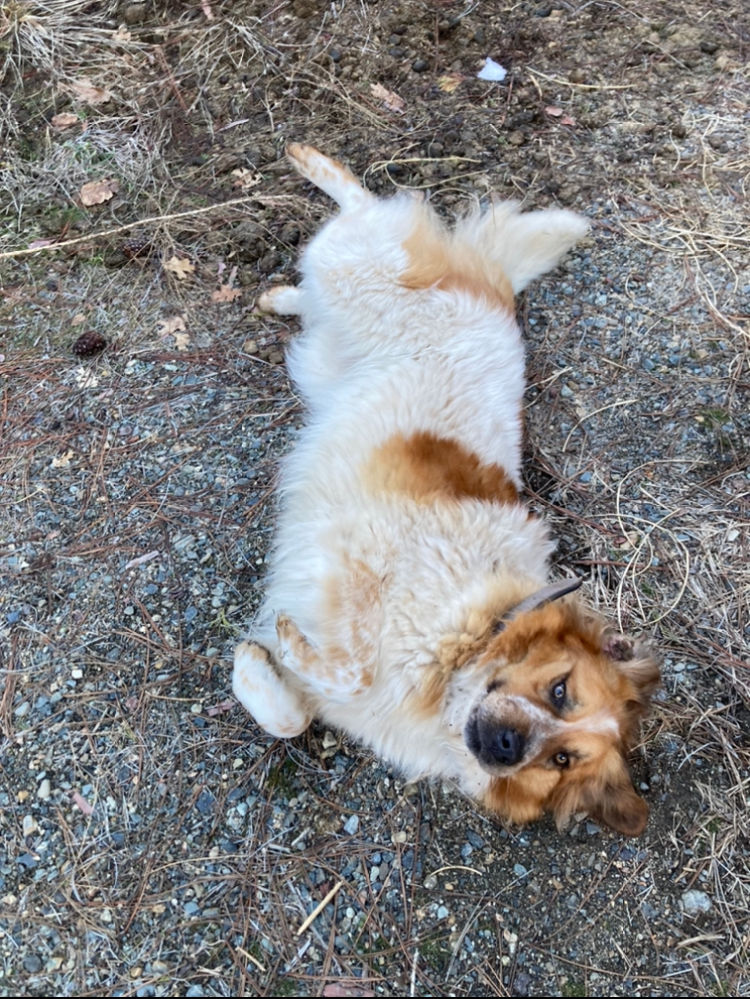
One such situation arose when we brought Zephyr home not realizing she was right in the middle of her heat cycle and we hadn’t yet set up a place to house her during it.
We’d talked about recording our projects to share. We do so much scanning of YouTube to resolve issues that come up that it seemed like a good way of giving back and passing on what we’ve had to learn through trial and error.
This was the perfect opportunity to dip our feet in, so we recorded ourselves building it and I muddled through iMovie to put together our first “how to”. I’m sure they’ll get better over time, but I’m pretty proud of our first attempt.
Take a look!
Materials:
2 - 4’x8’ coated plywood, cut in 4’x4’ sections
1 - 4ft piece of 1x6
1 - 4ft piece of 2x4
About 30 screws
Directions:
You're going to start by cutting the two pieces of plywood in half. This will give you 4 4'x4' pieces which will serve as the 3 walls and roof.
Next you'll screw the three sides together to form a U. It's important that the ends of the sides are screwed onto the side of the back piece rather than screwing them onto the ends of the back piece. Otherwise the roof won't fit.
Thirdly, you'll be attaching then 1x6 across the bottom of the open side of the shelter. This provides some extra stability as well as helping keep bedding inside.
Next you'll be adding slope for the roof. We used 2x4 because it happened to be less expensive but 2x2 will also work. You'll be attaching it across the top of your sides at the open end.
Lastly, you'll be attaching the roof. Square it up with your sides as best you can and attach along the front and back.
And you're done!


Comments